Disclaimer: the following configurations require Microsoft Entra Workload Identities Premium licence (link)
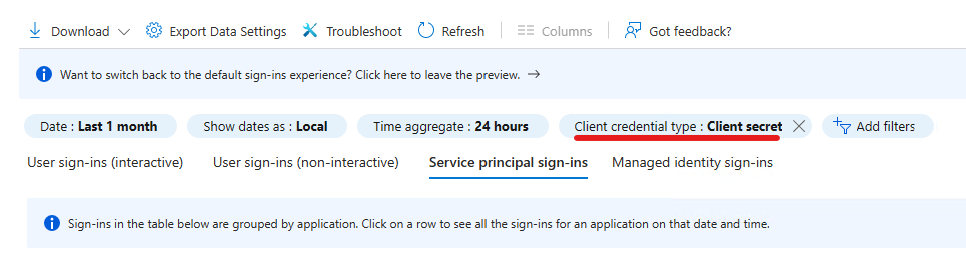
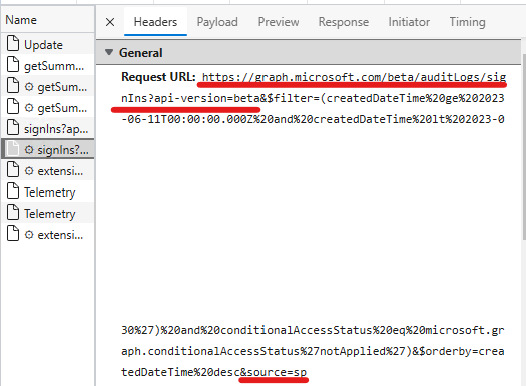
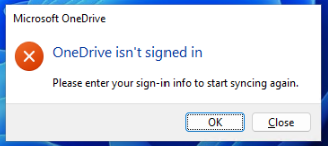
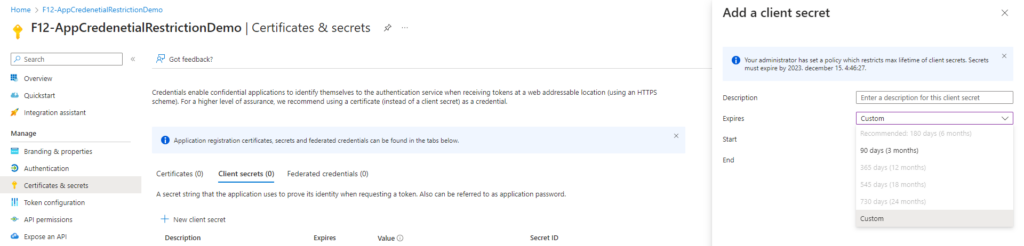
In my previous post, I highlighted the risks of using password credentials for apps and how to spot client secret usage for service principals. This post will focus on limiting password lifetime for apps (scoped to tenant or specific application level) which can be configured if your tenant has Workload Identities Premium licence – otherwise you will receive the following error:
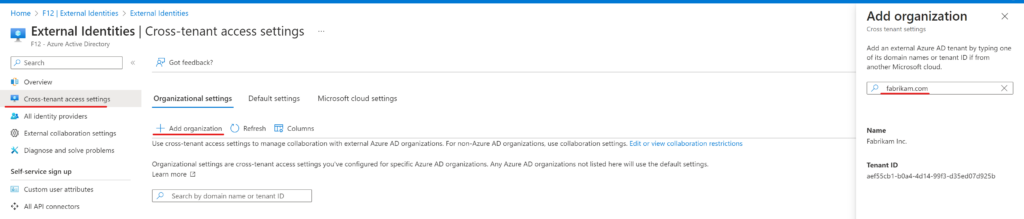
To add and configure organizational settings,you'll need to link a subscription with Azure AD Workload identity license to your tenant.

As per the documentation, apps and service principals can have restrictions at object level and tenant level. Scoped restrictions take precedence over tenant level settings and only one policy object can be assigned to an application or service principal (link).
Create a tenant level restriction
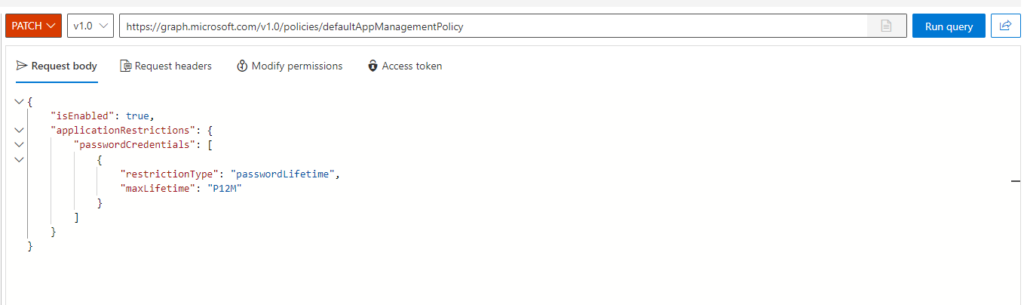
For demo purposes, I will create a simple setting which restricts password lifetime to 1 year for applications. I’m using Graph Explorer for simplicity. This action requires Policy.ReadWrite.ApplicationConfiguration right, make sure you are using an account with this privilege and consented.
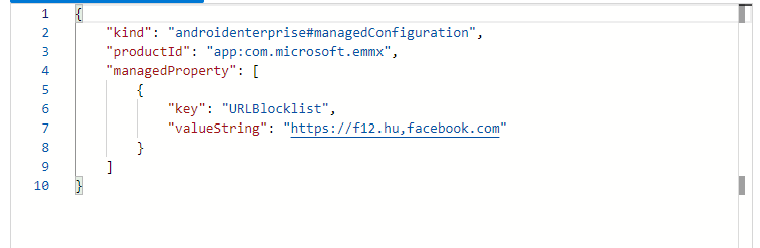
The endpoint is https://graph.microsoft.com/v1.0/policies/defaultAppManagementPolicy, PATCH method is needed. The request body is as follows:
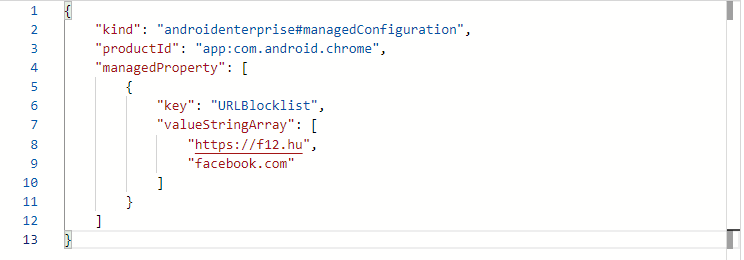
{
 "isEnabled": true,
 "applicationRestrictions": {
 "passwordCredentials": [
  {
  "restrictionType": "passwordLifetime",
  "maxLifetime": "P12M"
  }
 ]
}
}
The result is almost instant:

Create an appManagementConfiguration and assign to an app
We may want to further restrict some apps to have a shorter password lifetime, so we create a separate policy and assign it to the application. As per the documentation, assigning requires Application.Read.All and Policy.ReadWrite.ApplicationConfiguration – for me, it wasn’t enough, I received the following error:
Insufficient privileges to complete the operation.
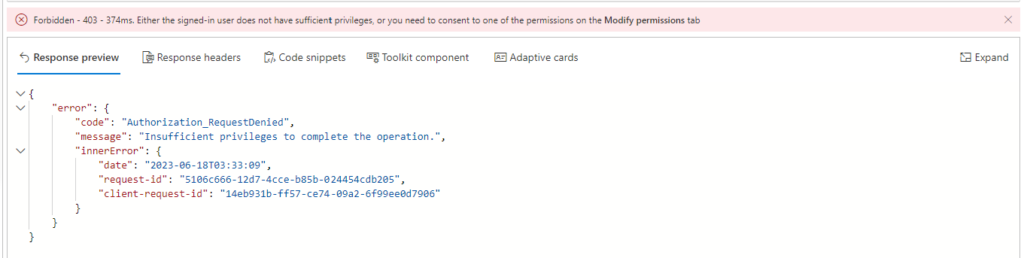
I added Application.ReadWrite.All to my permission set and the error disappeared.
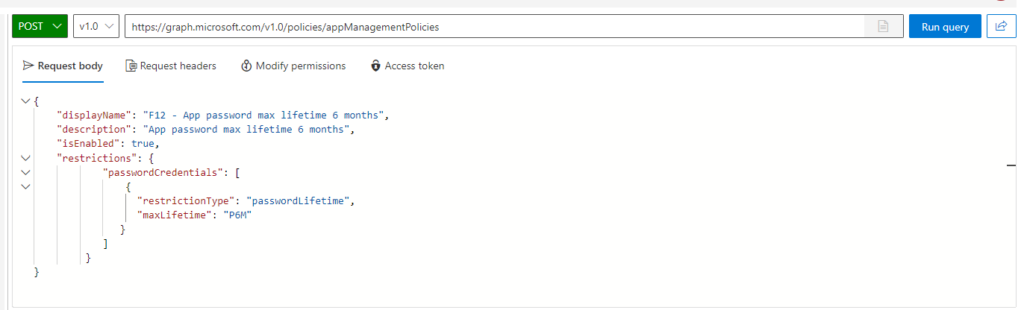
So, first, we will create the configuration object (documentation), which will restrict password lifetime to 6 months. The payload is the following:
{
"displayName": "F12 - App password max lifetime 6 months",
"description": "App password max lifetime 6 months",
"isEnabled": true,
"restrictions": {
"passwordCredentials": [
{
"restrictionType": "passwordLifetime",
"maxLifetime": "P6M"
}
]
}
}
It needs to be POST-ed to https://graph.microsoft.com/v1.0/policies/appManagementPolicies:
Take note of the result, the policy ID will be used in the following step.
Next is to assign this policy to the application object (documentation). We will POST to https://graph.microsoft.com/v1.0/applications/{id}/appManagementPolicies/$ref
{
"@odata.id":"https://graph.microsoft.com/v1.0/policies/appManagementPolicies/{id}"
}

Let’s verify the result:
Disable password creation for apps
The most restrictive policy is to prohibit password creation. This can be achieved using the same method described above, with this example payload:
{
"displayName": "F12 - APPS - No password allowed",
"description": "No password allowed for apps",
"isEnabled": true,
"restrictions": {
"passwordCredentials": [
{
"restrictionType": "passwordAddition",
"maxLifetime": null
}
]
}
}
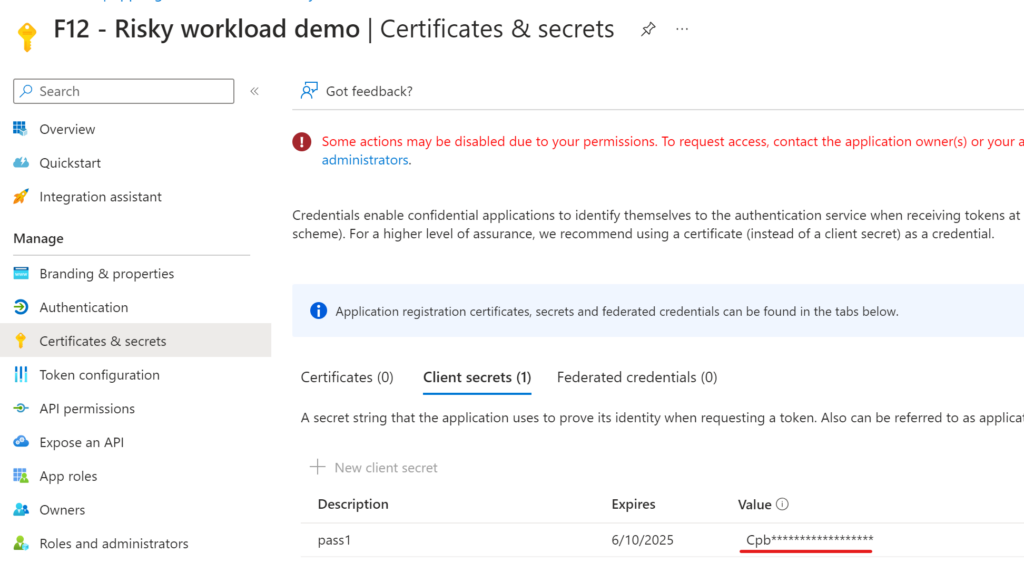
The result is a warning message and the "New client secret" option greyed out: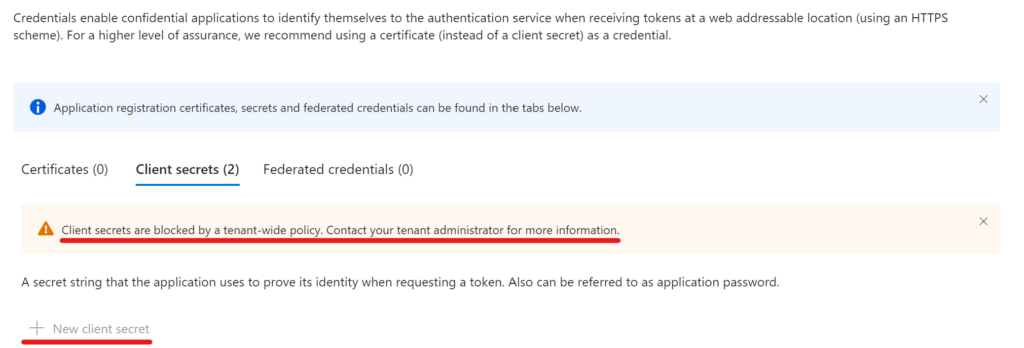
There are many other aspects of a service principal/app credential which can be managed this way, ie.: symmetricKeyAddition, customPasswordAddition, asymmetricKeyLifeTime which may worth considering (and I hope to have an occasion to try them and share my experiences).
To be continued 🙂